1. ASSEMBLE YOUR MOUNT
You need to have a ready-cut mount and backing board before you start. The mount should be either a standard 40
x 50 cms for exhibition or have alternative dimensions of your choice. The norm is to allow roughly 7 cms
around the aperture. Mounts often have an additional centimetre left underneath the aperture, so that the photograph is set
a little higher than the centre of the frame. The aperture should be a couple of millimetres smaller than your photograph
in both dimensions.
You can use the club's mount cutter to cut your own mount, or you can buy ready-cut mounts and backing boards (see the
Cotswold Mounts web site for one source). If you buy ready-cut mounts, then the aperture is usually placed centrally.
2. HINGE THE TWO PARTS TOGETHER
Once you have assembled your mount and backing board, you will need some tape to hinge the two pieces together.
It is best to use a strong tape rather than cellotape or masking tape (which in time may become unstuck or
discolour the mount). You can buy special archival-quality linen tape for hinging mounts if you want the finished
product to last for a very long time without discolouration.
|
| The completed hinge |
2. PUT YOUR PHOTOGRAPH IN PLACE
Arrange your photograph on the backing board and then close the mount to see how it will look. Be careful to get your
photograph straight and don't leave any white space around it. Being careful not to damage the surface, add a paperweight
or another heavy object, so that the photograph doesn't move easily in the next stage.
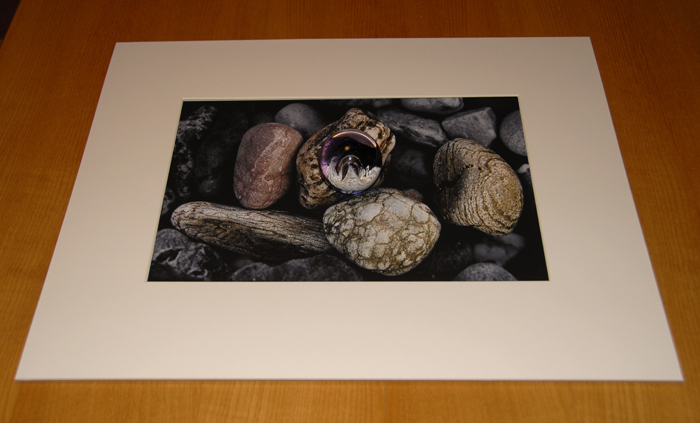
|
| The assembled mount and weighted photograph |
3. FIX YOUR PHOTOGRAPH WITH HINGES
Carefully open your mount again so that you do not move your photograph. Then use two pieces of adhesive tape to hinge
your photograph by the top corners to the backing board. It may seem strange to just use two fixing points, but photographic
paper and backing board often expand and contract at different rates with changes in temperature and humidity. This method
allows both to expand without unsightly buckling.
Again it is best not to use masking tape because this comes unstuck in time. Instead it is best to use special "acid-free"
hinging tape that will not harm your photograph in the long-term.
If you have left a space around your image on your photographic paper, then the hinge can be quite simple. If the photograph
is printed "edge-to-edge" then stick vertical pieces of tape to the back of your photograph, and then when you turn
it over, use horizontal pieces of tape to form a "T" shapes to hang the photograph onto the backing board.

|
| Hinge photograph at top corners |
4. FINAL STEPS
Your photograph is now ready for framing.
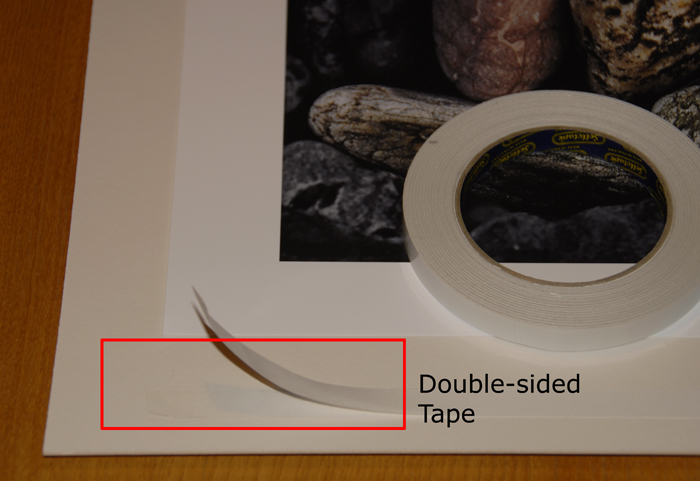
However if you want to enter it for competitions then you may prefer that the mounted print is not able to flap open
when a judge looks at it. A simple solution is to use a short strip of double-sided adhesive tape to hold the mount closed.
This may be placed inside the mount just below the photograph.
Using double-sided adhesive tape is not recommended for long-term mounting because the adhesives may discolour
your mount board.
If you want to sell your photographs or give them further protection against scratches during handling, then special
cellophane envelopes are available in different sizes, including ones to fit 40 x 50 cm mounts.You can obtain these from Cotswold
Mounts, Great Art, or Silverprint.
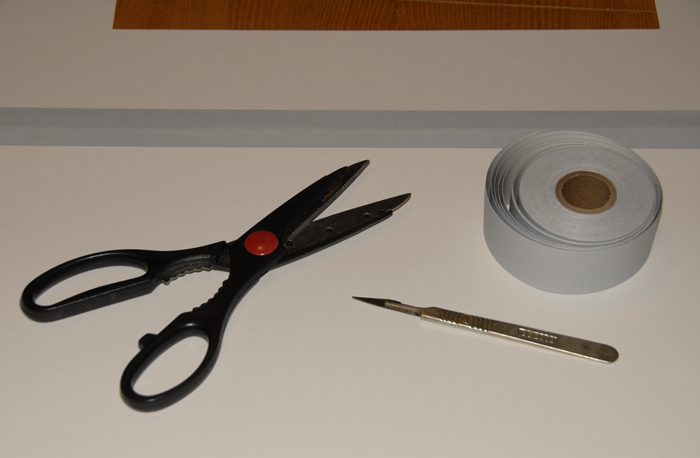
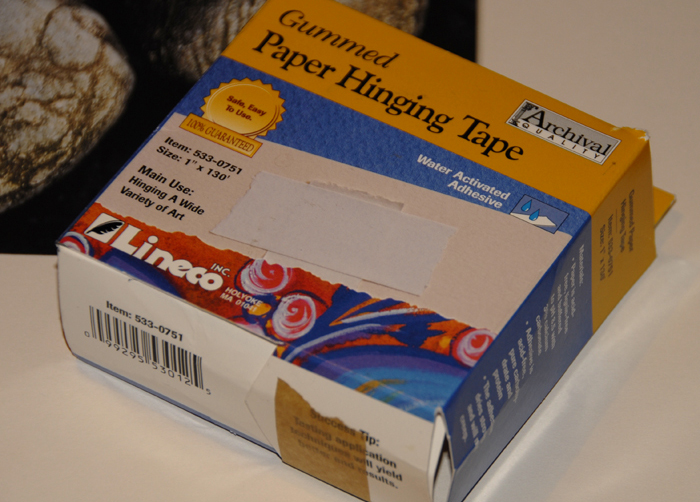
5. ADHESIVE TAPES
Specialised mounting tapes are available from Silverprint.
Alternatively, if you do use masking tape for photographs where the long-term archival preservation is unimportant,
look for the type that is known as "1-day release" tape because this has a stronger adhesive than the "3-day release" variety.
|
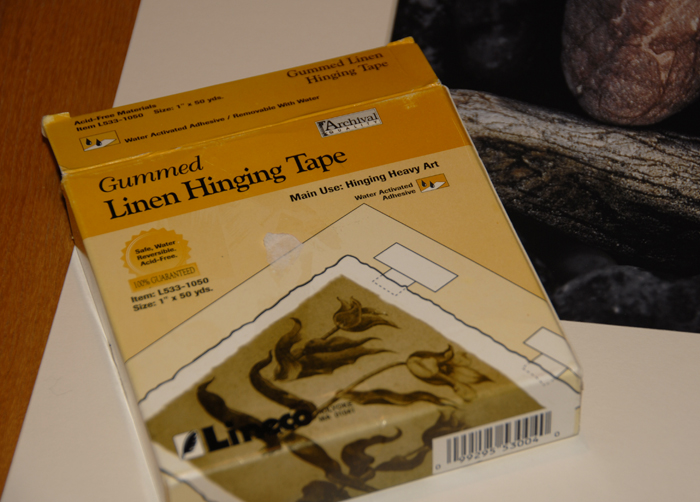
|
| Linen hinging tape |
|
|
| Acid-free mounting tape |
|
6. LINKS
For links to suppliers of mounting materials including tapes and mountboard please see this page elsewhere in this web site.
For mount cutting equipment see:

|